Recent Articles
-
Christmas Sword Buying Guide 2025
Dec 03, 25 10:53 PM
How to Make a Scabbard the Easy Way
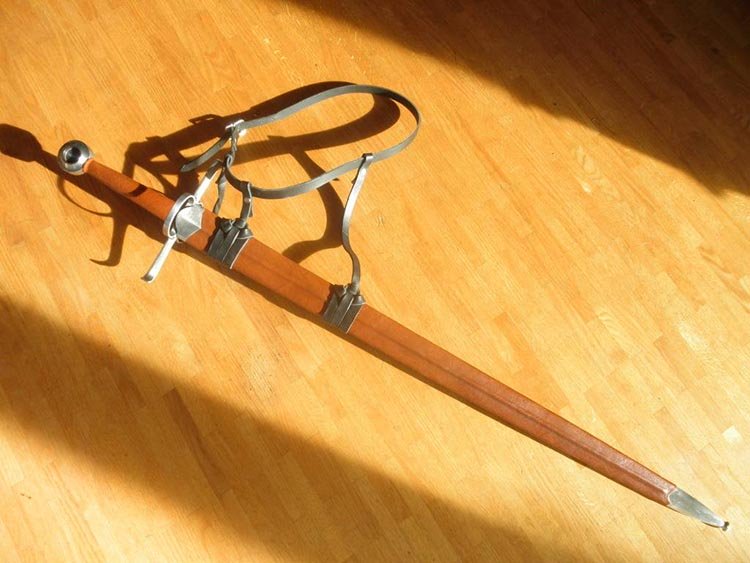 It may be a relatively easy way to make a scabbard, but THIS is the end result
This guide on how to make a scabbard for a medieval sword has been edited and condensed from a work in progress thread on the SBG Sword Forum by Lukas MG (ChenessFan).
You can use the template and ideas to make a scabbard of your own by simply modifying any of the steps to suit your design and individual style. While it is a lot of work, and your first attempts may not turn out exactly as you might want them to, the key to becoming a good scabbard maker is practice, practice, practice.
As carving out a scabbard is very time consuming, Lukas uses a method that uses thin wooden slats bent to form the scabbard core.
For this project, the following materials were used:
- 1mm maple slats
- lightly oiled goat fur for the lining to protect the blade from scratches, keep it oiled and stop it from easily falling out (hairs should face the scabbard tip)
- linen and rabbit skin glue (or PVA adhesive) to bind it together
- thin leather sheet to wrap around the wood core
To begin with, the shape of the scabbard was traced out on the maple slats and goat fur glued to one side to form the lining.
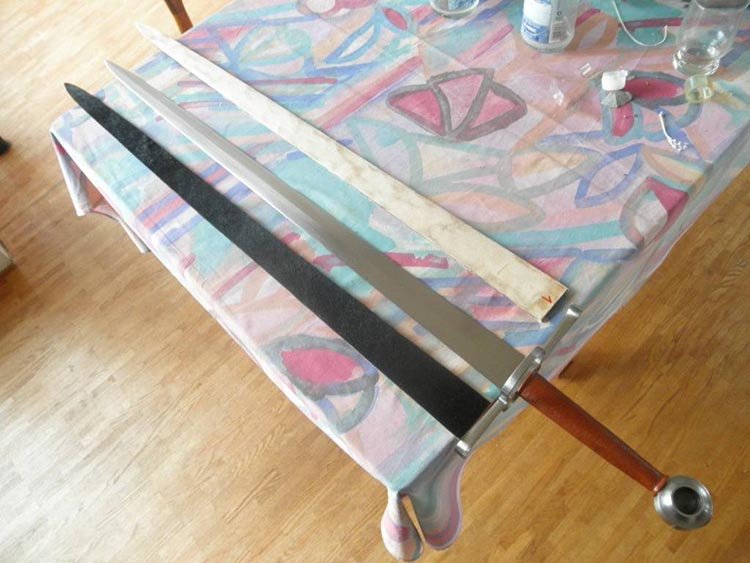
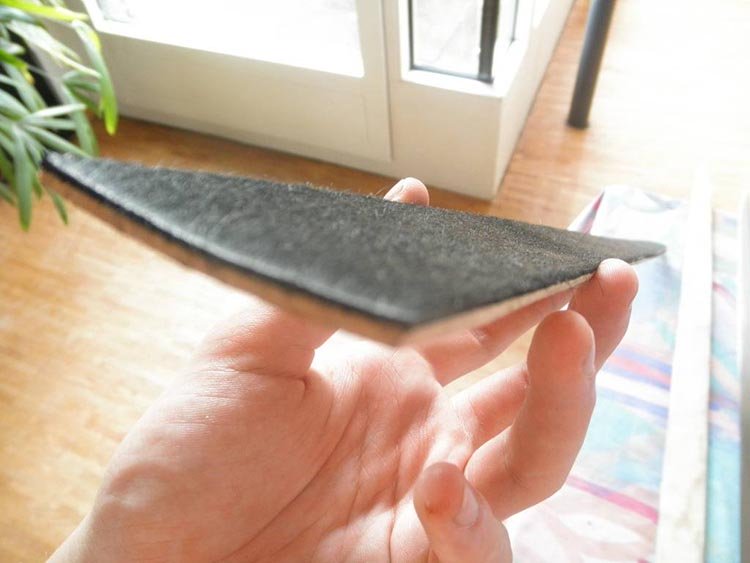
As the core isn‘t glued together but held solely by the linen wrap, there is no need to leave much room on either side of the blade‘s edge, (2mm
were enough). This makes for a core that follows the blade shape very
closely and adds little bulk.
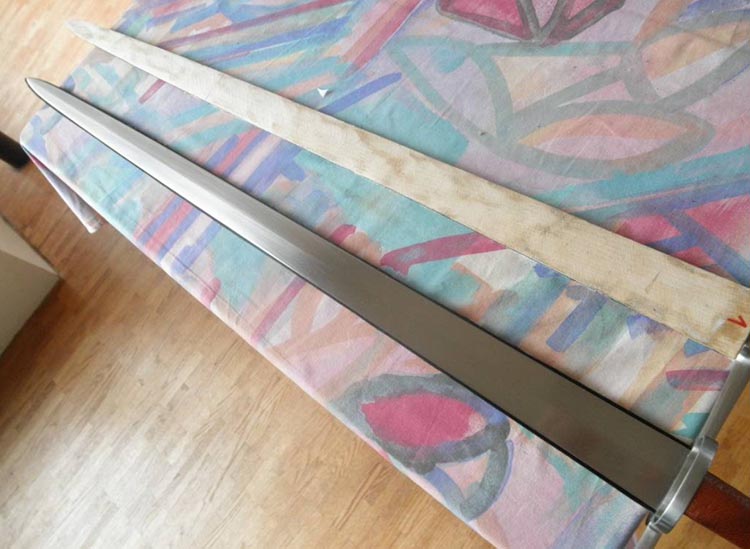
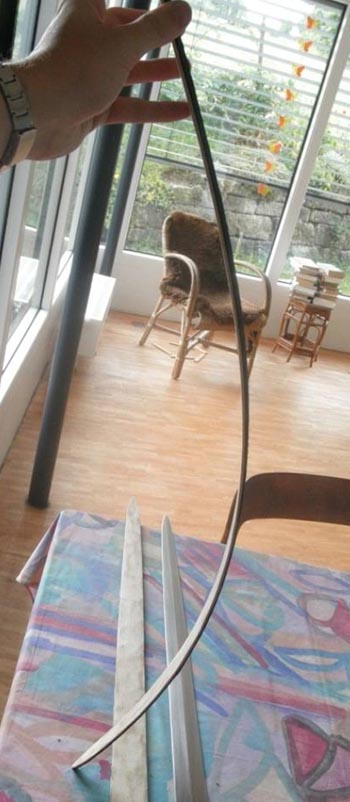
The 1mm maple slats are very flexible and can absorb shock quite well, a good thing should the scabbard ever encounter stress (falling on, etc - pictured right demonstrating its flexibility).
The combination of fur on the inside and linen plus leather on the outside makes for a very light yet durable construction. With the hide glue soaking through linen and wood and irreversibly combining them it‘s really kind of a medieval composite material.
After both slats were formed, wrap them with tape or string and insert the sword, leaving it there for a few days or up to a week - using a thicker dummy sword if necessary if it is still a bit too tight (this dummy can and should also be used in the next steps to ensure it does not tighten up at any stage during the scabbard making process).
To prevent cracking, it is not a bad idea to wet the slats before hand - in this case it was not done because Lukas received the slats pre-glued with the goat fur, but if he had not, it would have been better to wet the slats so that they bend easier.
The next step is a rather messy one - and involves using heated rabbit skin glue which when dry is both hard and flexible.
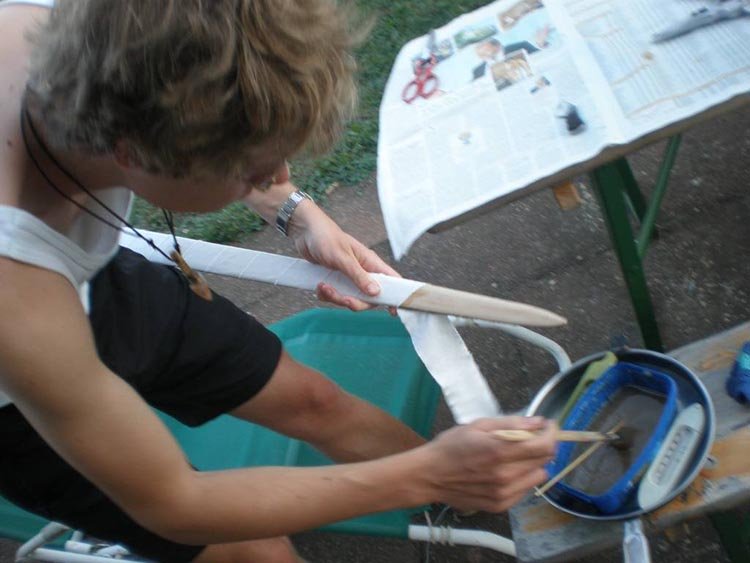
The glue sticks to everything, especially fingers it seems. It is also only usable when
heated to a honey like consistence and one needs to work rather quickly
before it cools down too much. Once dry it forms an extremely strong
bound, one that cannot easily be broken by hand and can be ground and sanded like modern epoxy.
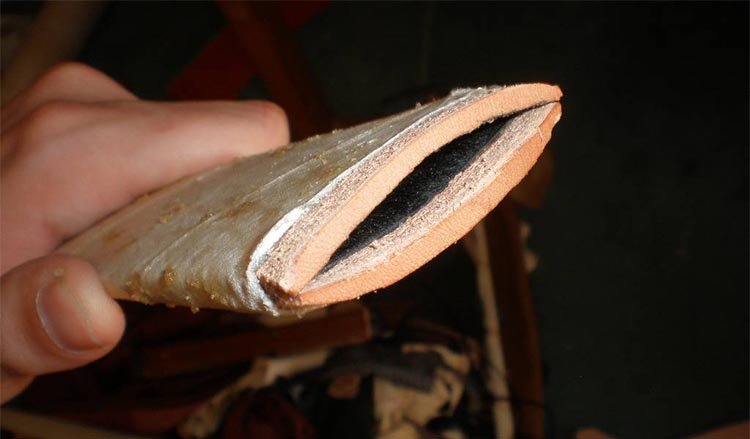
Next, the scabbard mouth is reinforced with a thick piece of leather and a central riser also glued into place, hide glue and a linen strip turning everything into one single piece.
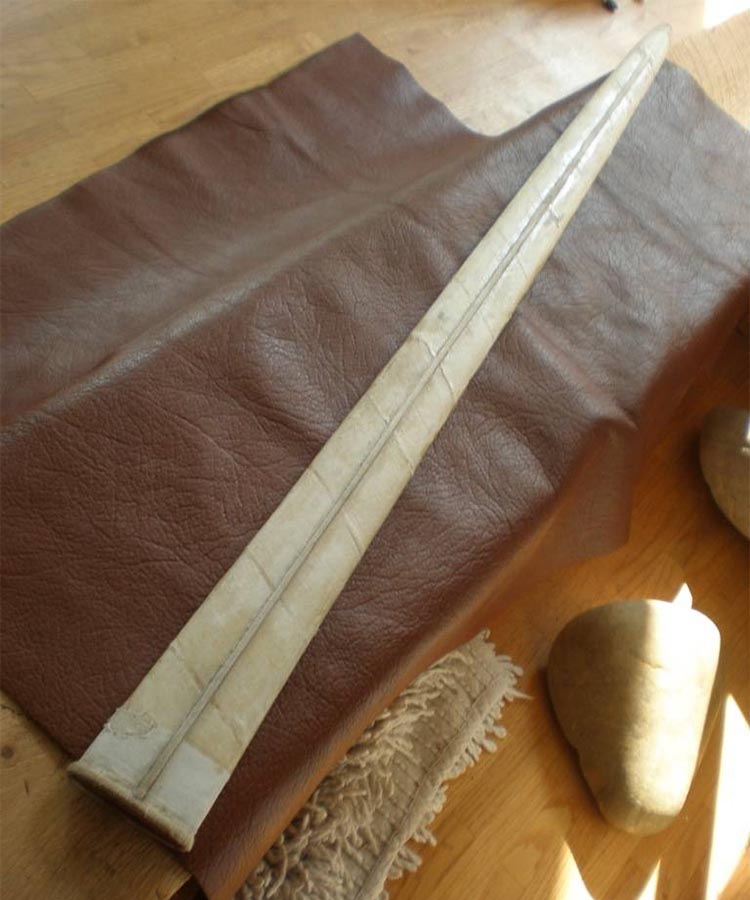
After letting the glue dry for a day, sand the core down until it is nice and even.
Afterwards, the core was wrapped with wet leather and glued down into place rather than stitched. There is historical evidence that both methods were used to make a scabbard, and of course, it is much easier to glue it down rather than spend hours stitching the thing.
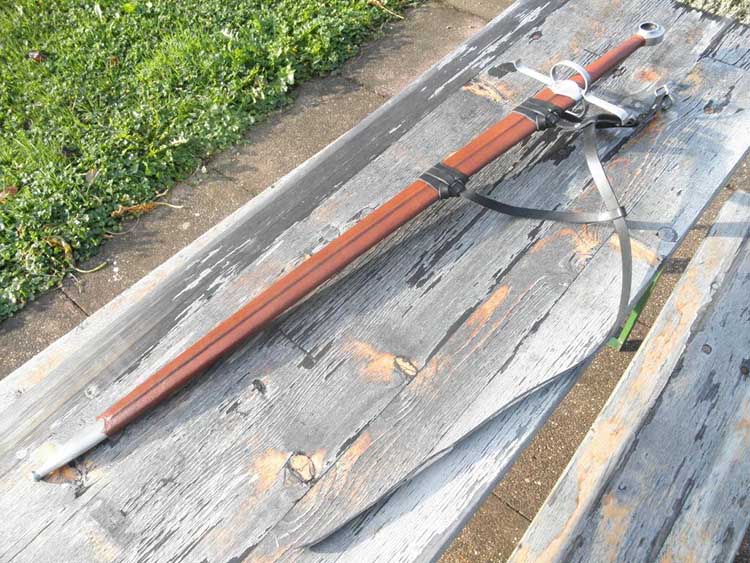
And that pretty much is how it is done - you can make or buy a steel throat and chape (make them by soldering two sheets of 1mm sheet steel together) for the scabbard and even go so far as to make a belt like Lukas did or carve some patterns or design elements into it - its up to you!
About the Artisan - Lukas MG
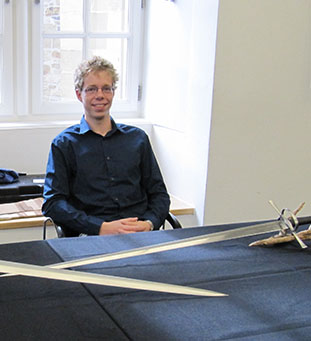
A sword enthusiast who never out grew his boyhood interest in swords, with the help of the SBG Sword Forum over the years Lukas Mästle-Goer has become a talented sword maker in his own right and now makes and modifies swords part time from his home workshop in Germany.
I hope this information on how to make a scabbard has been helpful. To return to Free Sword Customization Tutorials from How to Make a Scabbard the Easy Way, click here

Buying Swords Online Can Be DANGEROUS!
Find the Best Swords in the:
Popular & Recommended ARTICLES

The ONLY true free online magazine for sword enthusiasts. Delivered once a month on the 1st day of the month, no filler and no BS, just the latest sword news & info delivered straight to your inbox.


