Recent Articles
-
Christmas Sword Buying Guide 2025
Dec 03, 25 10:53 PM
Sword Making 101
The art of sword making is not really something you can learn from an online article. It takes a lot of trial and error, a certain amount of inherent ability and - especially if you want to actually forge swords of your own - a fairly expensive set up of specialized tools.
But everyone has to start somewhere - and this article is intended to be something of an introduction. Here we will be taking a peek at some sword making techniques that you can actually try out in the garage at home that are used by some of the most respected sword makers in North America, and point you in the right direction should you really be serious enough to take it to the next level.
So let's get started..
QUICK JUMP MENU
Basics of How to Forge a Sword at Home
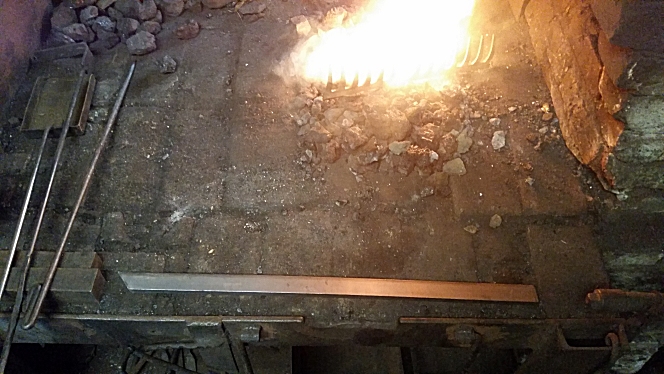
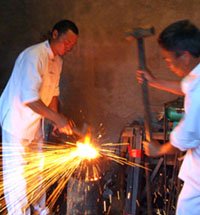
Forging is the most traditional, and also one of the most difficult, methods of sword making. At its essence, it involved taking a lump of steel and repeatedly heating it until it is malleable, then banging on it with a hammer until it starts to resemble something sword shaped.
The final stages of sword making are the same for all sword production methods - which involve grinding it to shape, heat treating the blade (hardening and tempering it) and then mounting it up with a hilt and maybe making some kind of sheathe.
Here, we will just cover the basic forging technique.
Equipment Needed
At its most basic, your forge will need the following items:
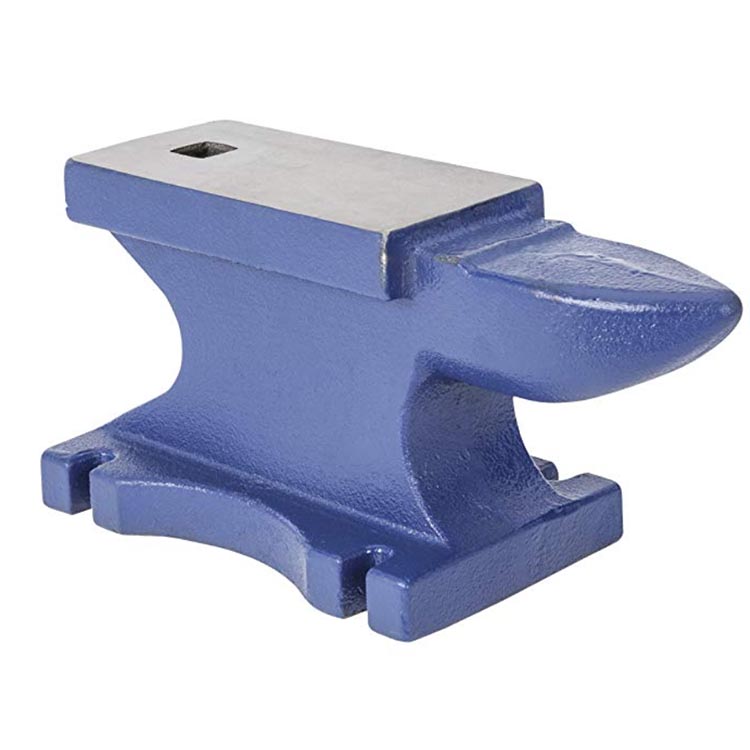
- An anvil made from mild steel
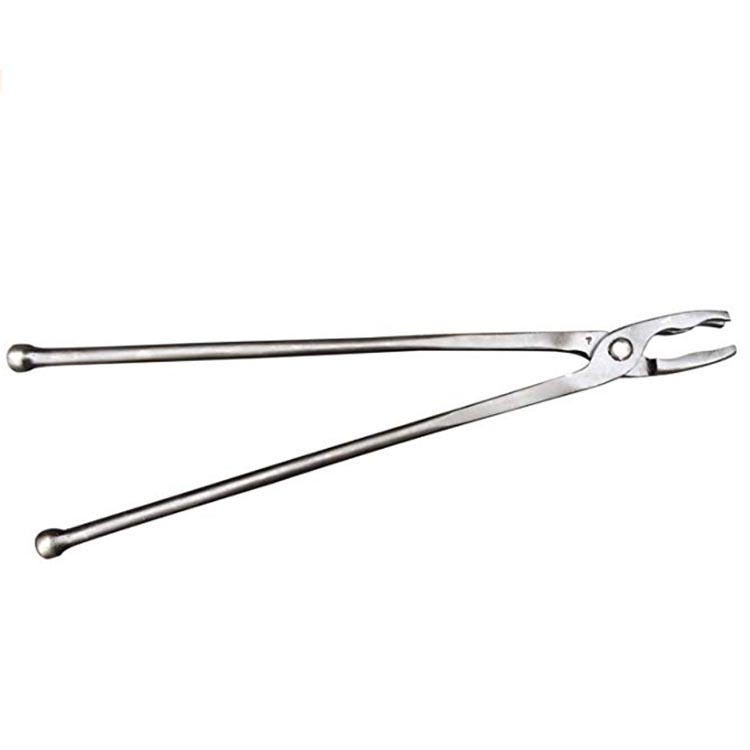
- Blacksmith Tongs
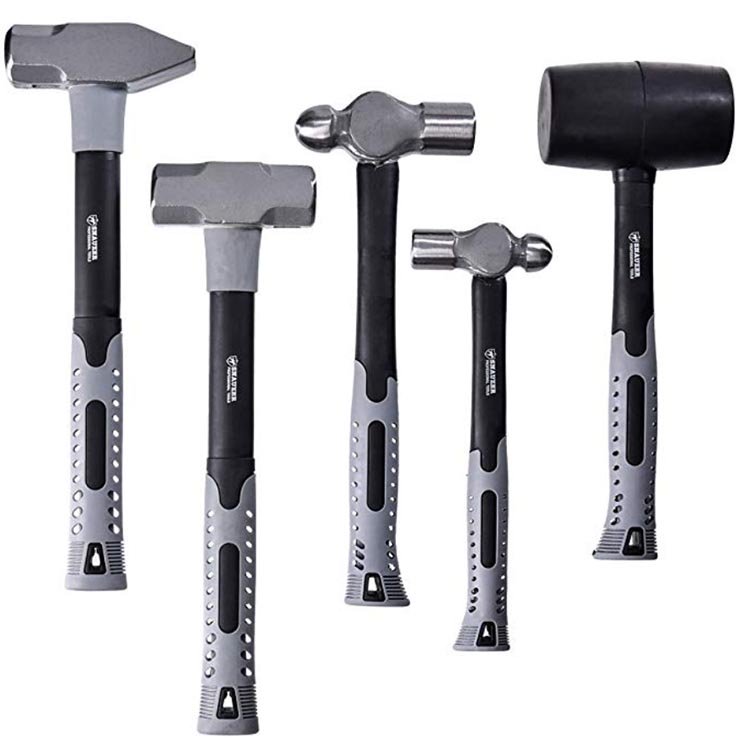
- Hammer (over 1.5lbs in weight at least)
- Burner - either propane or coal
- Blower
- Bituminous coal (store bought charcoal will not do)
- Safety Equipment (gloves, protective glasses, fire extinguisher, etc).
Of course, to mount the blades and grind them to shape you will need a small workshop, but for now let's just concentrate on the actual forge.
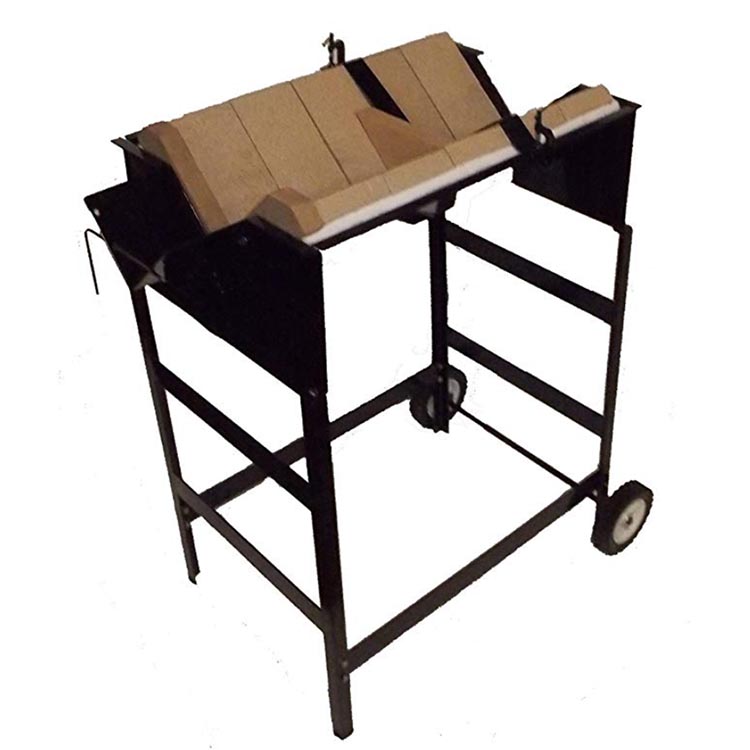
If you have the money, you can get pretty much everything you need online. Below are the core components - total spend around $750.
Indeed, it is possible to set up a forge for even less by changing the Forge & Blower for something smaller. Many amateur sword and knife makers swear by the Atlas Mini Forge which at $285 brings the cost down to around $450 or so.
COMING SOON: How to Make a Forge
In the meantime, you can check the popular mechanics article Blacksmithing 101
Basic hammering techniques
Before you start hammering away, you need to heat up the steel so it is malleable. As a rule of thumb, the area that you will be working on should be glowing orange and will spark when you hit it with the hammer - roughly 1900 F.
The basic techniques are bending, flattening, twisting, tapering and upsetting (striking a bar to thicken and enlarge its hot end). Because sword making is as much an art as a science, you need to learn how to get a feel for the steel, how much force you need to apply and to which area to get it to take the shape that you want it to.
VIDEO: 8 basic hammering techniques
Very few would-be blacksmiths jump straight into sword making - usually starting out making a knife or two to get a feel for the process before gradually increasing the length of the blades they work with. Taking a local course on blacksmithing is a great way to get started. But for anyone interested in a general overview of how to forge a sword at home, the video by Storm the Castle is an excellent starting point (and a great resource for beginning blade makers in general).
For a more detailed look at the sword forging process - check out our article - how to forge a sword here
How to Make a Sword at Home The EASY Way
The Stock Removal Method
An Inferior Method? There are aesthetic differences between a sword made using stock removal and one hammered out the old fashioned way. But in terms of functionality, it all comes out in the heat treat - the great equalizer. So basically, no - it is not inferior - and many of the worlds best sword makers use it.
Most hobbyist sword makers don't actually forge their swords from a billet of steel..
The cost of buying and setting up a forge, anvil, hammer, gas tanks, etc is one thing, but actually learning how to hammer forge a blade has a very steep learning curve.
However there is one sword making technique that skips a lot of the hardest parts of making a sword - and that is a method known as stock removal.
There is nothing inherently bad about this method - indeed, it is used by some of the most respected North American sword makers in the industry and bypasses the need for a forge. All you actually need is some steel, some grinders and some safety gear..
You can pick up lengths of steel online from sellers like McMaster-Carr - just do a google search for the type of steel you plan to make your sword from and your location. Here is a guide to the different steel types if you are not sure, many beginners like to start with 1075 as it is readily available and a good compromise between hardness and pliability.
Next you need some basic safety equipment.
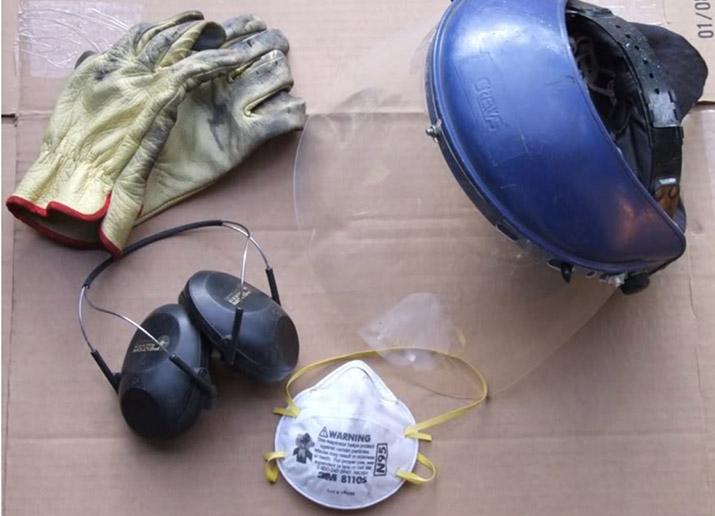
The basic protective gear you need is:
- Gloves
- Respirator
- Face shield
- Ear protection
Then you need the basic "tool of the trade" for stock removal, an angle grinder. At a bare minimum, a 4 1/2 inch grinder, grinding wheels, cut-off wheels, and sanding wheels.
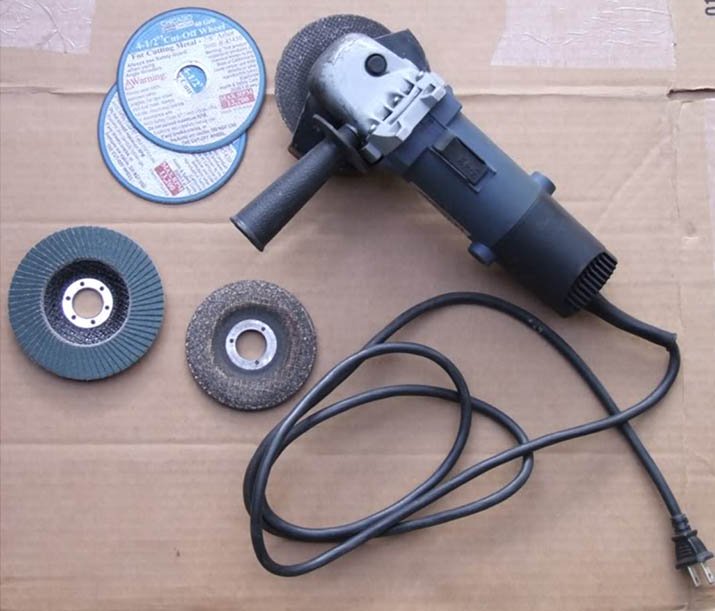
With this basic tool, a good work bench, a drill press, belt sander and some hand files and clamps, you can make a surprisingly good quality sword in around 10 steps..
Sword Making - a Step by Step Guide
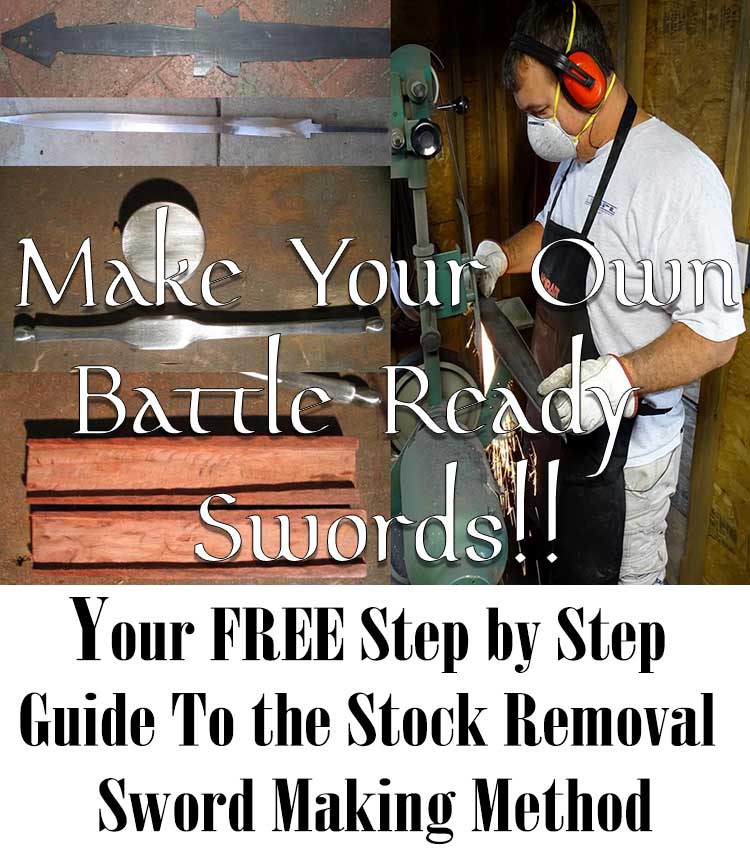
Click here for our full step by step guide on how to make a sword using the stock removal method.
Additional Related Articles
From the Free Sword Customization Tutorials Page
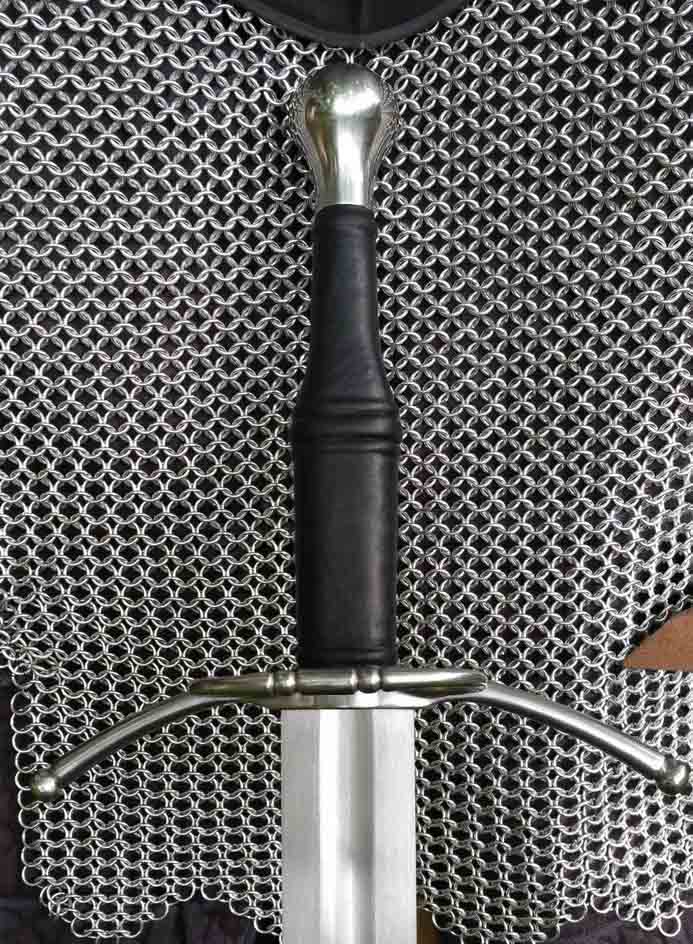
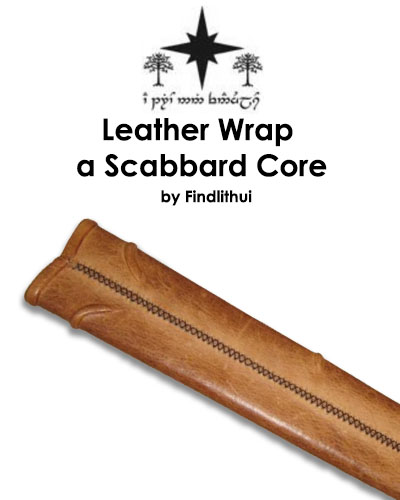
How to do a handle wrap the easy way
A step by step guide to the most common sword making technique used to create an attractive, comfortable and very functional leather handle in any number of custom colors and styles.
Also a cheap option using nothing more than a Wal Mart Shammy!
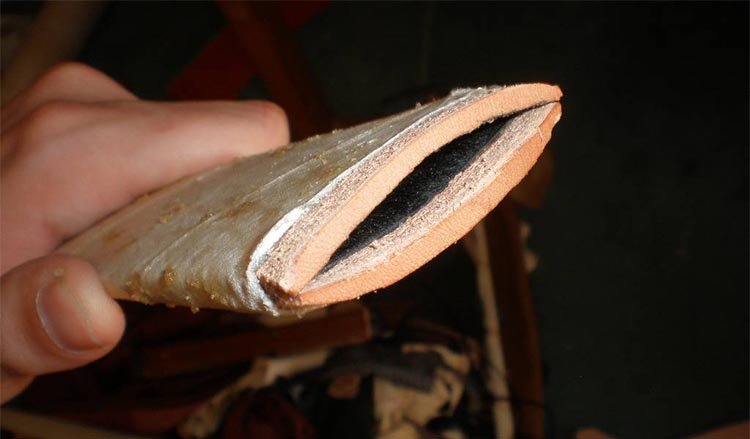
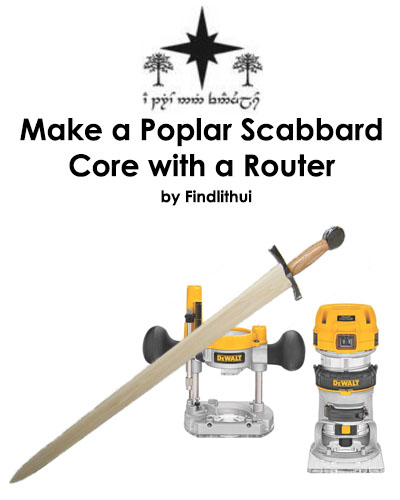
How to make a scabbard the easy way
The easiest (if a messy) way to make a wood core leather lined scabbard using two wooden slats. No carving of wood and no stitching required!
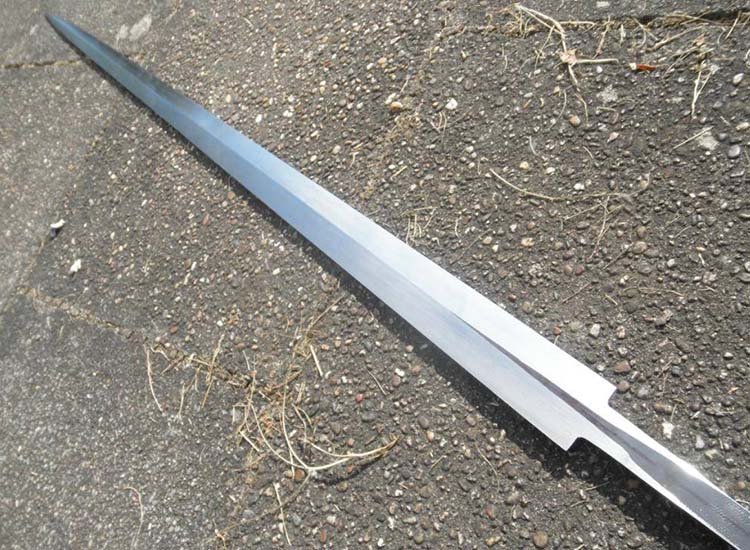
Distal Taper Stock Removal Method
Make the best handling sword possible by thinning the blade as it progressively gets closer to the tip. A more advanced technique but it is used on swords that can be sold for thousands of dollars..
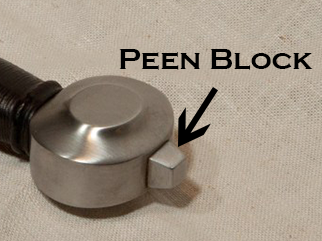
A peen block is a raised block of mild steel used to secure and beautify the peen of a medieval sword. Here is how to make one.
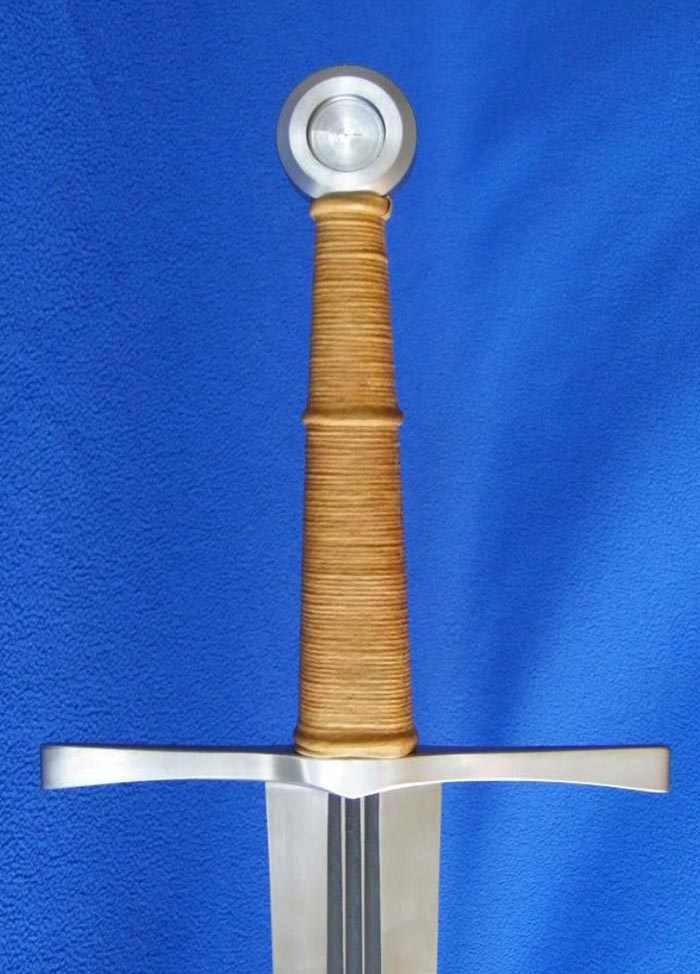
Cord Wrap Effect on Leather Handles
To add more visual interest to a leather handle wrap and improve the grip and comfort here are two methods to get the popular cord wrap effect either by actually wrapping it or by imprinting into the leather. Very simple yet attractive.
Free Scabbard Making eBook Tutorials
Do not be fooled by the seeming simplicity of the stock removal method. The author of our 10 step guide, Brendan Oswalsky from Fableblades.com started out and continues to make his swords using these basic techniques.
And this stunning sword he made was made using these exact same techniques - the sky is the limit..
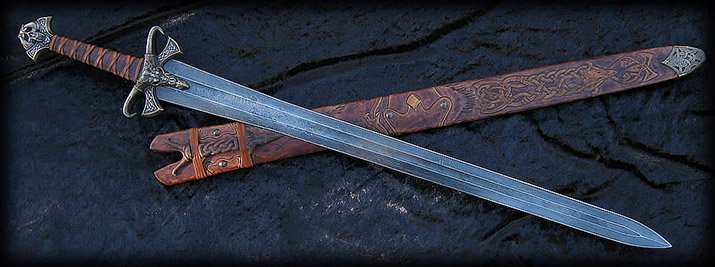 An example of the kind of sword you can make with stock removal
One Final Step - The Heat Treat
No matter what method of sword making you decide upon, you are going to need to get it heat treated.
There are basically two stages to the heat treating process - hardening and tempering. The best and most reliable way is of course to have a professional do it - but with some trial and error, it is possible to do it at home using - of all things - your oven!
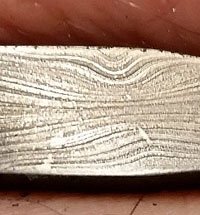
The first step is normalization - basically evening out and resetting the grain structure of the steel which may have areas that got overly hot during forging and/or grinding. To normalize a blade it should be heated within a range of 400-600 degrees (how hot depends on the steel used) until until it is non magnetic and then letting it air cool for a couple of hours. Some people like to repeat the cycle twice to be on the safe side, but again this is just trial and error.
To harden the blade, heat it up again until it is non magnetic and then quench it in brine (water and salt) or oil.
If you do not have a magnet, while it might not be very scientific, just aim for for a nice red glow.
Further Resources
You can find a wealth of information, WIP pictures and get advice and help right here in the sword making section of our forum. Here you will find examples of what other people are doing, additional tutorials and links to other useful websites to aid you in your quest.
Another great forum for all types of blade making is of course BladeForums.com - where you can see work in progress projects by some of the most skilled blacksmiths and blade makers in the world, as well as ask questions that you cannot find the answer to anywhere else.
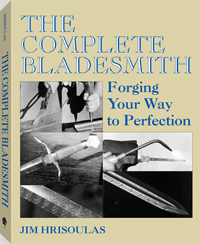
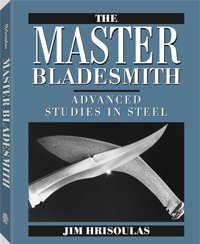
If you are truly serious in learning how to forge a sword, we also strongly recommend you stock your library with at least one of the books from the following selection.
I hope this article on how to forge a sword has been helpful. To return to the SBG Homepage from Sword Making 101, click here

Buying Swords Online Can Be DANGEROUS!
Find the Best Swords in the:
Popular & Recommended ARTICLES

The ONLY true free online magazine for sword enthusiasts. Delivered once a month on the 1st day of the month, no filler and no BS, just the latest sword news & info delivered straight to your inbox.

